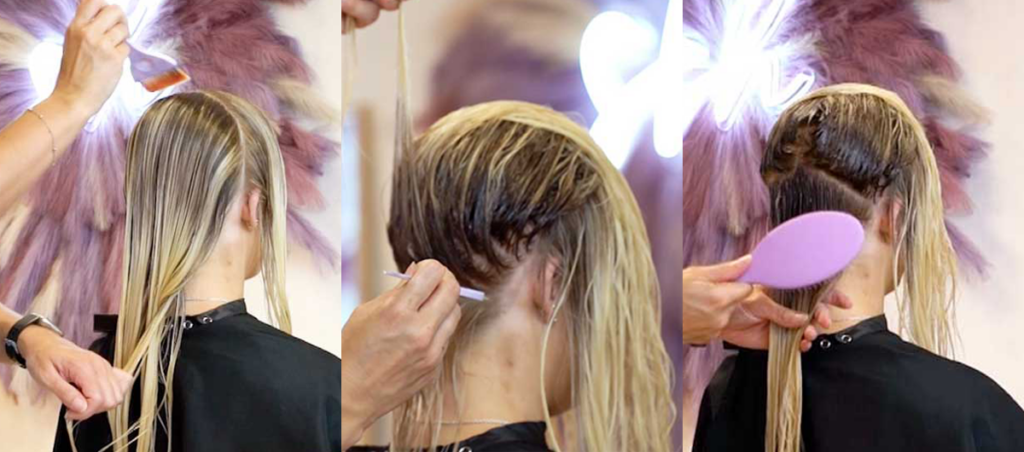
Create The Perfect Money Piece Balayage
If you have a client with long, grown-out roots looking for an easy dyed to natural hair transition, a soft balayage with a money piece is a great option.
This blog shows how we will transform lovely Anais’ hair and give her a fresh new colour.

Sectioning
To begin, section the hair using diagonal lines around the head. This will ensure a natural blend from all angles when you pull the hair up or back. We are using the SimplyHair large sectioning clips, and the SimplyHair pintail comb.

Formula
Starting with the two lowest sections, mix up a formula of 40g of 2%/ 7 vol peroxide, 30g powder and the appropriate amount of Olaplex No.1 Bond Multiplier. We are using the Schwarzkopf Blond Me collection.
As the bottom section will have the product on for the longest duration, this is why we are using 2% developer for these sections.
Weave technique
Start around the hairline, using a babylights technique for a gentle blend. Next, brush upwards towards the roots to get close to the root without creating a hard line. Once you are as close to the roots as possible, stroke down the lengths, ensuring to leave to ends of the hair product free. After the first 3-4 sections, switch your weaving technique between a slice and broken slice, adding dimension and a light backcombing towards the roots to soften the blend with the roots. We are using the SimplyHair foils in Rose Gold, and the SimplyHair Rose Tint Brush.
Once you have completed your first section, move over to the opposite section and repeat the same process.

Creating the Money Piece
Now that the back two sections are complete, we can move on to the money piece. Re-section the front parts of hair with the amount you wish to use in your money piece. This is entirely a personal preference, whether your client would like a thick and bold money piece or a fine and soft money piece. We would recommend accessing how your client's hair falls naturally and sectioning a V section at the front of the head to ensure the only that falls forward.
We opt for a centre-part, soft and subtle money piece and incorporate the hairline for a smooth blend to frame the entire face.
Money piece formula
We will use the same formula as the back of the head, as the money piece will be the second-longest section in terms of processing time. You will need to mix up40g of 2%/ 7 vol peroxide, 30g Powder and the appropriate amount of Olaplex No.1 Bond Multiplier. We are using the Schwarzkopf Blond Me collection.

Start with baby lights around the hairline before moving onto babylights through the front sections of the money piece. Ensure that your two front sections of foils are “kissing”, as this will create a beautiful face frame when finished.
Middle sections
Now you can move to your middle sections, which includes the sides and back, and leaves out the very top of the head.
Formula for middle sections
You will need a stronger formula now, as the processing time will be shorter. Therefore you will need to mix up 40g of 6%/ 20 vol peroxide, 30g Powder and the appropriate amount of Olaplex No.1 Bond Multiplier. We are using the Schwarzkopf Blond Me collection.
Continue working at an angle through the back, only using straight lines across when there is no room for angled foils. Switch between slice and a broken slice for added dimension.
Top Section
Now all your other sections are complete, it is time to move onto your final section: the top of the head.

Formula for the top section
This section will have the shortest overall processing time, and therefore you will need 40g of 9% / 30 volume peroxide, 30g powder and the appropriate amount of Olaplex No.1 Bond Multiplier.
The ends
Once your foils are in place, start checking your bottom foils from around the 45-minute mark to see how they are developing. Once they have lift, begin to remove the foils one by one while applying the 9% formula through the ends. This shall lift nice and quick and only needs to be left for 5 minutes to brighten and clean out any old colour, ready for a fresh toner. This is best done by hand; however, we would always recommend using gloves.


Wash, Rinse, Tone
Now it is time to rinse. We use the SimplyHair Shampoo and Conditioner, followed by a bleach wash to clean out any last remaining signs of the old colour, brushed through for even coverage using the SimplyHair Brush.
Once washed out with shampoo and conditioner and brushed, section the hair ready for your toner.


Toner Formula
We are using the Redken shades EQ range and applied 10g of 6NB, 10g of 6N, 10g of 6T and 25g Gloss to the roots, and 10g of 9V, 10g of 10GI, 5g of 9T, 24g of Clear and 50g of Gloss to the mid-lengths and ends.
Apply your toner directly to the roots first and work from top to bottom, using a brush to pull the toner softly through the hair.
Rinse the toner from the roots, and apply your mid-lengths and end toner at the basin.

Final touches
Now you are ready to blow-dry and style to reveal your final result.


