Mermaid Root Tutorial
Using colour to add creativity to a style is a really fun way to change up your clients look in a way that is super creative, but not permanent. Semi-permanent colours are perfect when you have clients who like to regularly change their hair, however, they can be high maintenance, so the correct application and aftercare is essential to long-lasting vivid colours.
In order to achieve our mermaid roots, we will be bleaching our client's hair in order to create a blank canvas to work with, and then we will be using a range of Crazy Colour Semi Permanents to build our mermaid-inspired roots.
Step 1 - Part your client's hair in a clean slice right through the middle and hold it in place with sectioning clips.
Step 2 - To cover our clients root regrowth, we are going to bleach using BlondeMe 40g 6%/20 Vol developer, 30g BlondeMe Powder and Olaplex.
Step 3 - Start by applying the bleach along with the clients parting, all the way from the front to the back of the head.
Step 4 - Divide the hair again halfway along the centre parting to the ear, in the hot cross bun formation, and apply the bleach to the regrowth.
Step 5 - Pay close attention to only applying the bleach to the regrowth, as applying any bleach to the lengths will create an uneven finish.
Step 6 - Take one of your back sections, and take diagonal slices, to work slowly down the head, focusing only on the regrowth.

Step 7 - When you reach the bottom of the neck, make sure to include any baby hairs which you may have missed.
Step 8 - Once you have worked your way all the way to the bottom, work your way back up, making sure you have saturated every bit of regrowth.
Step 9 - Repeat the process on the opposite back section, followed by the front sections.
Step 10 - Leave the bleach to develop, regularly checking on the colour and the hair elasticity, to ensure you are retaining the hairs health.
Step 11 - Once the hair has developed to the colour you need, brush the bleach through the length at the basin, and top up any root sections which may need a little more product.
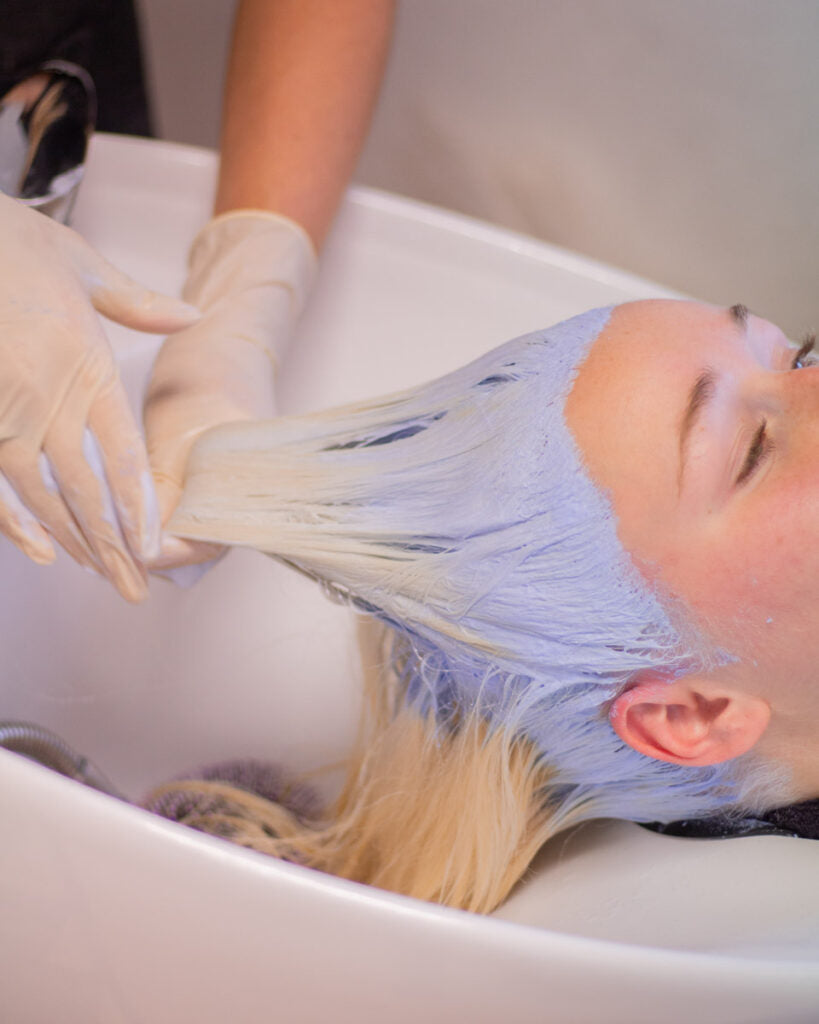
Step 12 - Bleach wash. With the product still on the roots, wet the lengths of your client's hair in the basin. Apply your bleach to the lengths, using the water on the hair to lather it through and spread it more easily.
Step 13 - Now you are ready to rinse. Apply an Olaplex treatment to the hair in order to help restore the hair quality.
Step 14 - Now it's time to tone the hair for a more natural colour. We are using Redken Shades Eq in:
10g of 09AA
10g of 07GB
10g of 09NB
50g of Gloss
25g Clear
Step 15 - Massage the toner from the roots through to the ends and then rinse.
Step 16 - Sectioning for mermaid roots. In order to do this, you will need to find your client parting, and this will ideally be in the middle for the best-finished look. It is particularly important when doing root colours to find a parting your client is happy with, as once the root colour has been applied, it will be hard for them to adjust it without affecting how the mermaid root appears.
Step 17 - Section the root again, to form a large even chunk at either side of the parting. Now you are ready to apply your Crazy Colour.
Step 18 - We are going to be using 4 colours on our clients, with the main focus being blue tones. We have chosen Peppermint, Hot Purple, Capri Blue and Pinkissimo
Step 19 - To apply the Crazy Colour we are going to be using foils in order to prevent any colour bleeding and to keep each section clean. Apply your colour at the roots, and pull down to the desired root length you are looking to achieve.
Step 20 - We will be applying 3 foils per colour before moving on to the next colour. This is to ensure that each section has full saturation of colour. Once you have applied your first 3 foils, you can switch to your next colour and repeat the process all the way to the front of the head.


Step 21- Leave the colour to develop.
Step 22 - Once developed, it is time to rinse, however before doing so, cover the back of the head with cling film to avoid any colour running onto the blonde hair and causing staining.
Step 23 - Rinse each colour one by one, using cool water. Once all of the colours have been rinsed, wash the hair with shampoo and conditioner, and then brush the hair through.
Step 24 - Find your parting again, and then you are ready to dry and style!


